How to Configure a VLAN (vSwitch) on Hetzner Using Netplan
Learn how to configure a VLAN (vSwitch) on a Hetzner server using Netplan. This step-by-step guide will help you set up VLANs, apply configurations, and verify connectivity for seamless network management.
Setting up a VLAN (vSwitch) on a Hetzner server allows better isolation and control over network traffic. This guide walks you through the entire process, from adding a server to a vSwitch to configuring VLANs and verifying connectivity. Step 1: Add Your Server to a Hetzner vSwitch Log in to your Hetzner Dashboard. Navigate to vSwitch and select your desired VLAN configuration. Add your server to this vSwitch. Note down the VLAN ID (e.g., 4000) as you’ll need it later.
Step 2: Check Your Current Network Configuration Before modifying anything, check your current routing table:
ip route show
Example output:
default via <YOUR_IP> dev enp7s0 proto static onlink
Now, check your existing Netplan configuration:
cat /etc/netplan/01-netcfg.yaml
step3: Add vlan config at the end. for example I want to add this server to vStwitch as 10.0.1.5
###Hetzner Online GmbH installimage

network:
  version: 2
  renderer: networkd
  ethernets:
    enp7s0:
      addresses:
        - some numbers
        - some numbers/64
      routes:
        - on-link: true
          to: 0.0.0.0/0
          via: some numbers
        - to: default
          via: fe80::1
      nameservers:
        addresses:
          - some numbers
          - 2a01:4ff:ff00::add:23
          - some numbers
          - 2a01:4ff:ff00::add:1s
  vlans:
    enp7s0.4000:
      id: 4000
      link: enp7s0
      mtu: 1400
      addresses:
        - 10.0.1.5/24
      routes:
        - to: 10.0.0.0/24
          via: 10.0.1.1
Step 3: Apply the Configuration Save the file (Ctrl + X, then Y, then Enter), then apply the changes using:
sudo netplan apply
If no errors appear, proceed to verification. Step 5: Verify VLAN Configuration Check VLAN Interface
ip addr show enp7s0.4000
Expected output:
3: enp7s0.4000: <BROADCAST,MULTICAST,UP,LOWER_UP> mtu 1400 qdisc noqueue state UP group default
inet 10.0.1.5/24 scope global enp7s0.4000
Check Routing Table and ensure the route is correctly configured:
ip route show
Expected output should include:
10.0.0.0/24 via 10.0.1.1 dev enp7s0.4000
Test Connectivity Run a ping test to confirm connectivity:
ping 10.0.1.1
ping 10.0.0.2
If the pings succeed, your VLAN is properly configured!
Step 4: Ensure Persistence After Reboot To make sure the configuration persists: Reboot the server:
reboot
After reboot, verify the VLAN configuration again:
ip addr show enp7s0.4000
ip route show
Set vSwtitch for VPS In case you want to add a VPS instead of dedicated server you just need to go to your VPS panel and create a network (if not already available) and then use Attach Resources to add VPS to the private network using vSwtich and that's it. use ping in your VPS to test the connection to other servers. Below you can see the sample final settings. 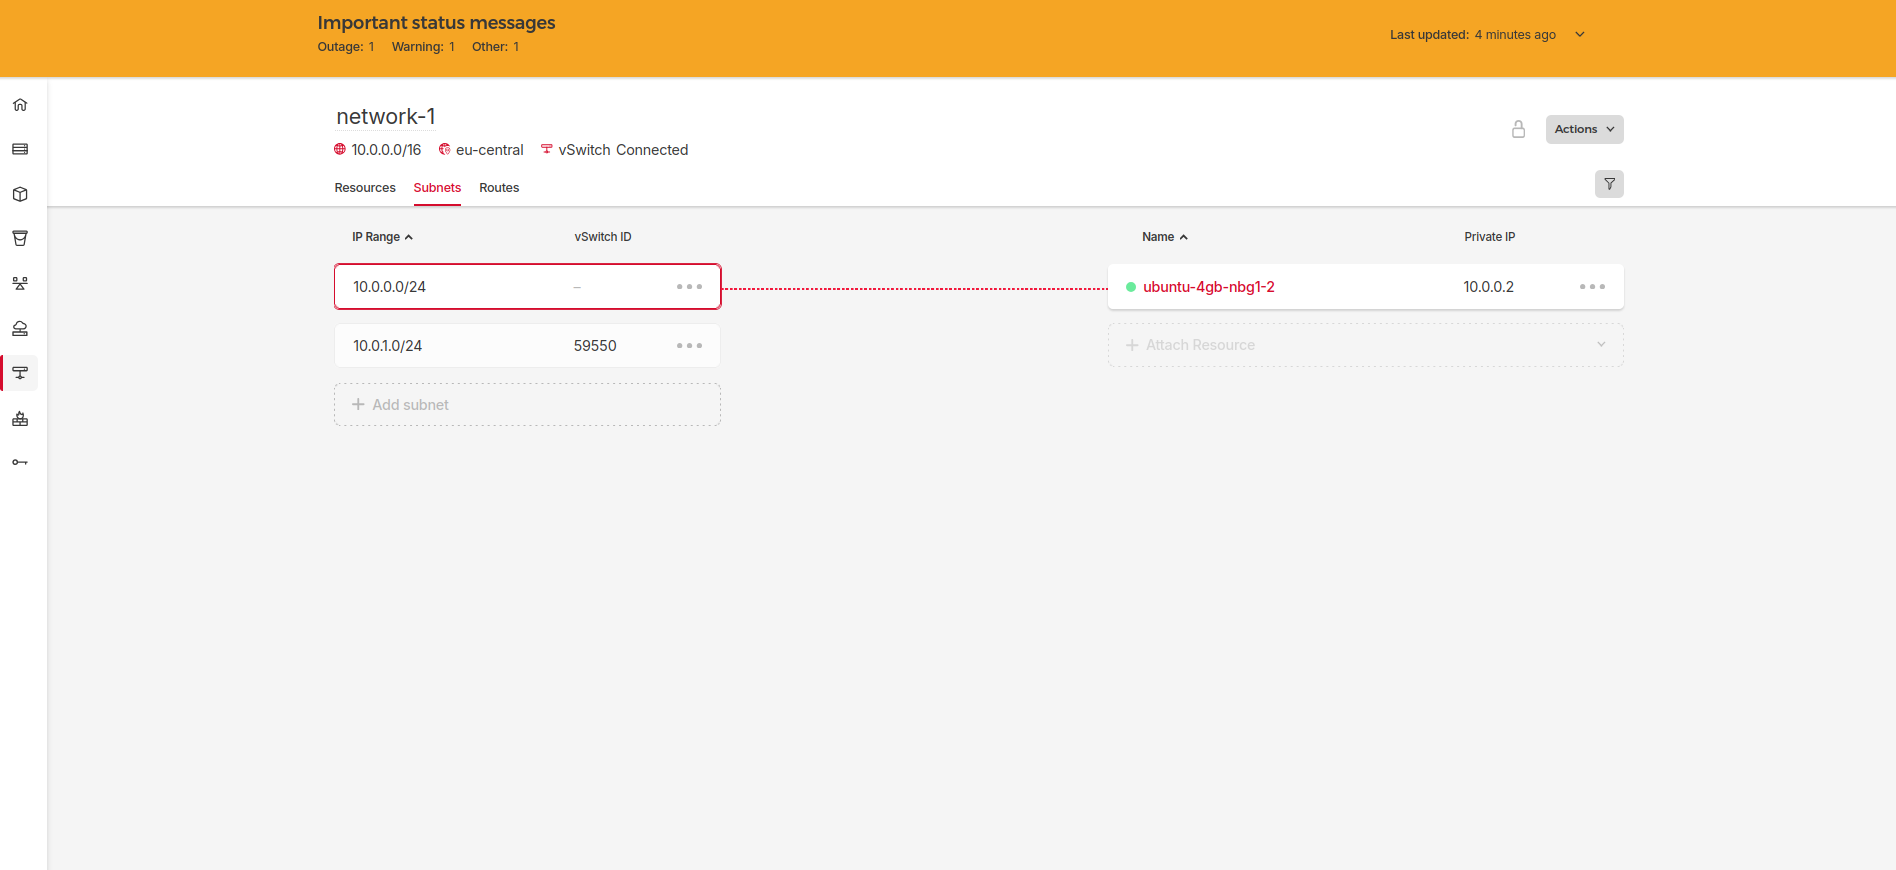
Now, your Hetzner server is successfully configured with a VLAN using Netplan! If you run into any issues, check /var/log/syslog or /var/log/netplan.log for debugging.